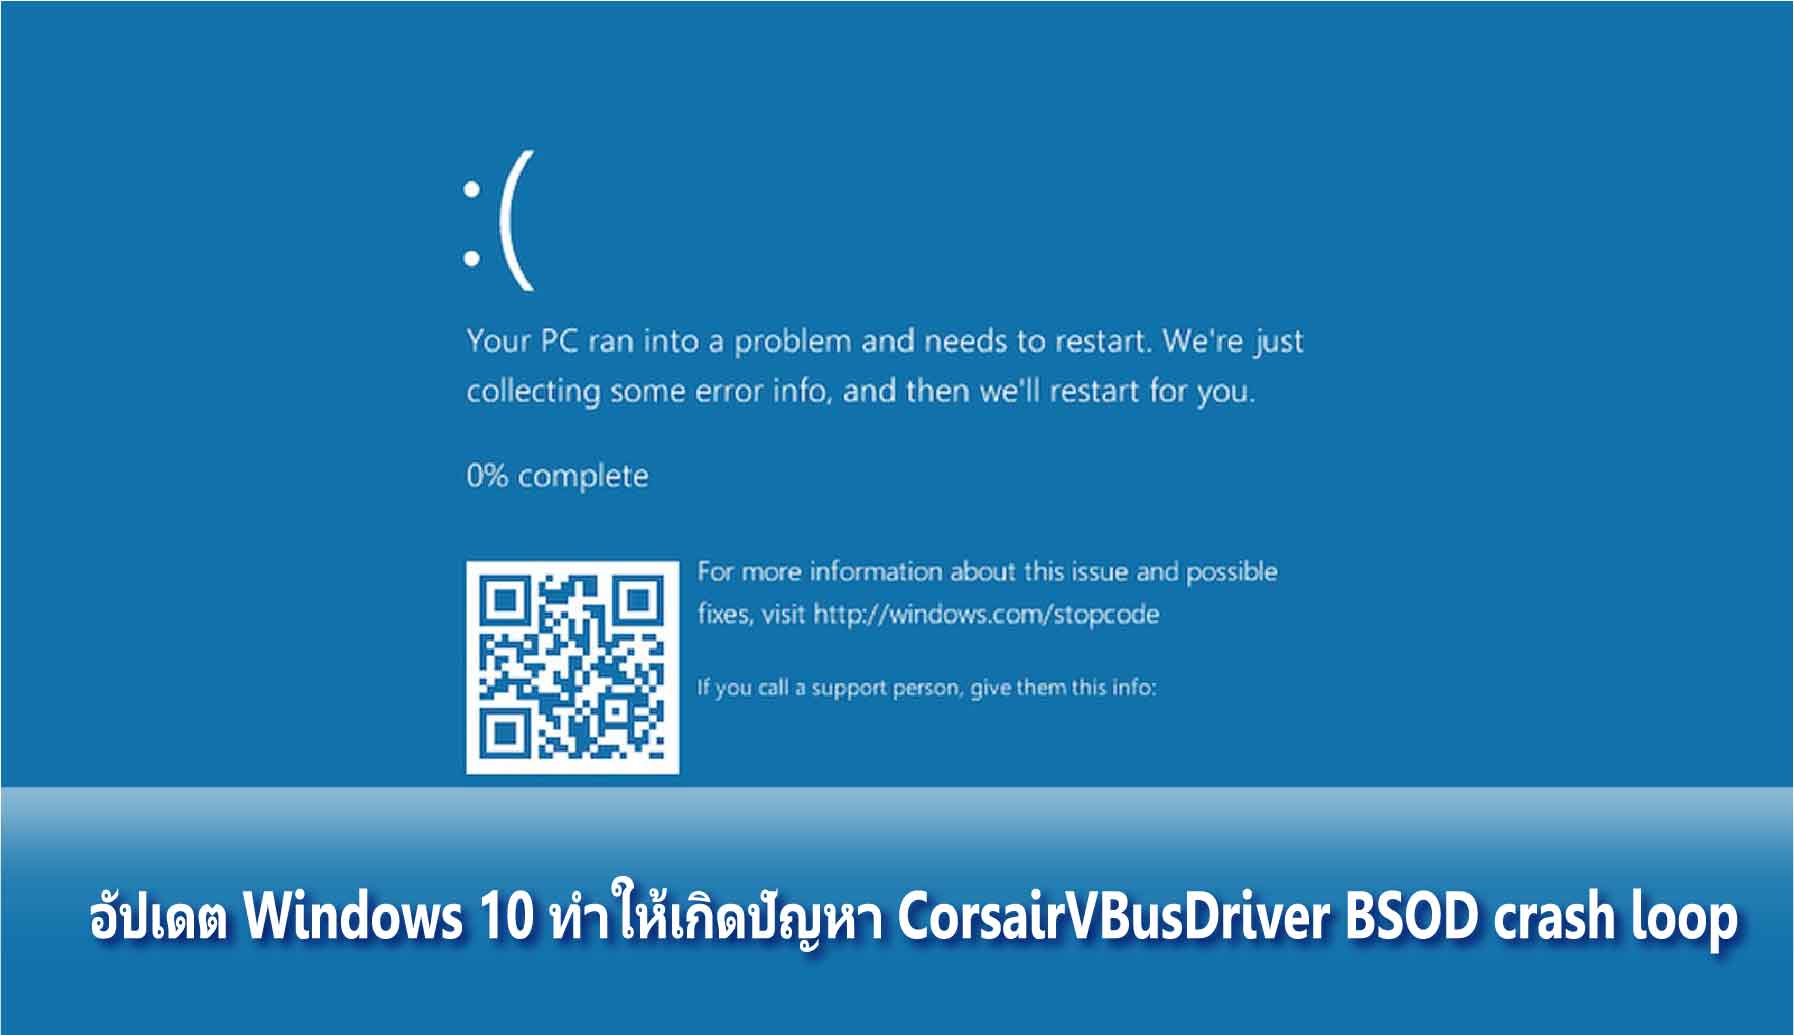
อัปเดต Windows 10 เดือนธันวาคม ทำให้เกิดปัญหา CorsairVBusDriver BSOD crash loop
ผู้ใช้ Windows 10 เริ่มรายงานว่าระบบปฏิบัติการจะเข้าสู่การวนลูป เกิดการขัดข้องของ Windows (จอฟ้า) ซึ่งจะรีสตาร์ทและหยุดทำงานโดยอัตโนมัติ และรีสตาร์ทอีกครั้ง เรื่อยๆ
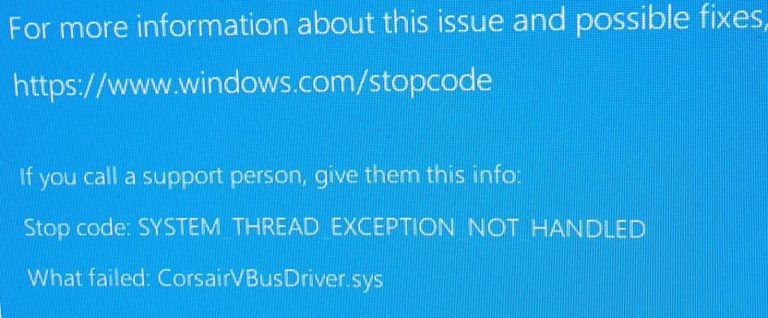
เมื่อ Windows 10 ขัดข้องระบบจะแสดงหน้าจอสีฟ้าที่แสดงข้อผิดพลาด “Stop code-SYSTEM THREAD EXCEPTION NOT HANDLED” และระบุว่าไดรฟ์ CorsairVBusDriver.sys ล้มเหลว ซึ่งบัคนี้เกิดจาก CorsairVBusDriver.sys ที่เป็นไดรเวอร์ของอุปกรณ์ Corsair นั่นเองครับ ซึ่งถ้าใครอัพเดตไปแล้วอาจจะเกิดปัญหาแบบนี้ขึ้นได้ แต่ถ้าใครยังไม่อัพเดตแนะนำให้รอทาง Microsoft แก้ไขแพทช์ใหม่ต่อไปครับ
How to fix the Windows 10 CorsairVBusDriver.sys BSOD crashes
- You don’t need a Windows Installation disk to perform these steps. Instead, you can perform this by using the built-in Windows 10 recovery command prompt.
- Boot up into the Windows 10 Recovery screen (see booting to safe mode, but select command prompt instead of “Startup Settings”).
- Click “See more advanced recovery options.”
- Click on “Troubleshoot.”
- Click on “Advanced options.”
- Click on “Command Prompt.”
- Once you’re in the command prompt, you will need to mount your Windows System Partition (as this is not automatically mounted):
- Type diskpart into the command prompt and press Enter.
- Type list disk and press Enter. You’ll see some output with some disks (starting at 0) with sizes. Usually, your System drive will be Drive 0. You can make a good guess by the drive size.
- Type select disk x and press Enter, where x is your system drive from the results from step 2.
- Type list part and press Enter to see a list of partitions. A normal Win 10 install will have 4 partitions: 1 – Recovery, 2 – System, 3 – Reserved, and 4 – Primary. If you don’t find a primary partition, change disk (step 3) and repeat until you find your system partition.
- Type select part x, where x is your primary system partition (will be the biggest partition from step 4).
- Type assign letter=Z and press Enter to assign your primary partition a drive letter (Z).
- Exit diskpart by typing exit and then pressing Enter.
- We now need to remove the dodgy driver using the dism command:
- Run dism /Image:Z: /Get-Drivers | more to display a list of installed drivers. When I did this, it opened up the driver list in notepad. Use Ctrl-F to find the driver you’re looking for and note down the Published Name (should be oemxx.inf).
- Run dism /Image:Z: /Remove-Driver /Driver:oemxxx.inf where the oemxxx.inf is the published name from step 1.
- Exit the command prompt by typing exit and then pressing Enter. Now reboot your computer and cross your fingers!
Post Views: 404